As promised, part two of SVI International’s guide to frequently asked auto lift questions is here to answer all your most common questions regarding auto service equipment. Last time, we covered everything relating to auto lift set up and installation. This time, we will tackle the lifts themselves, including which types of lifts are best suited to which applications. As the largest provider of auto and industrial equipment parts, SVI International is uniquely qualified to help you find answers to all your auto lift questions. However, please note that while applicable for most cases and most lifts, the answers you find in this document may not be best for your specific application. When in doubt, always consult with your auto lift provider first.
Auto Lift Questions
1. How do I know which type of parking lift best fits my needs?
When we want to choose the best lift for our garage, the two most pressing factors on our mind are cost and functionality. Striking a balance between those two that fits your shop’s needs is really the best way to choose the best auto lift. While you may want to spend as little as possible, be sure to also consider the dimensions of your garage, the size and weight of the vehicles being parked, and how frequently you would like to replace your chosen lift. Below is a general overview of the benefits and potential drawbacks of many common types of auto lifts to help make this decision an easier one.
Four Post
As one of the least expensive options, four post parking lifts are generally very easy to operate and are relatively maintenance-free. They also provide a high level of stability for your lifting needs. One issue owners of smaller garages may experience is the amount of floor space these types of lifts require.
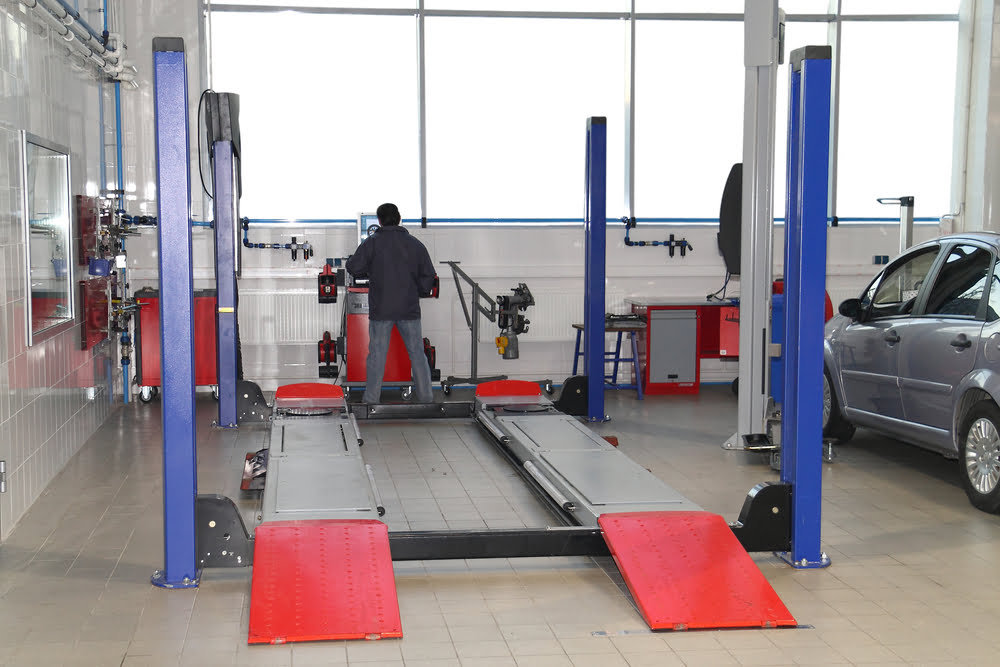
Two Post
The rugged, two post auto lifts were first designed primarily for commercial applications. Although they may cost more than typical four post lifts, they provide a great number of advantages, including a cantilever style and great performance in harsh weather conditions.
Single Post
When very little garage space is available, a single post parking lift may be a great option with many available models to meet all your parking needs.
2. What are the differences between asymmetric, symmetric, and floor pan model two post automotive lifts?
While many auto lifts appear relatively similar at first glance, there are several important distinguishments to be made.
By allowing vehicles to be lifted out and away from posts, asymmetric designs allow you to open doors freely without hitting anything. While they work very well for cars, if you want to use an asymmetric lift for trucks with long wheelbases, you may find yourself disappointed.
The othered of two post lifts, symmetric designs, have a wider space between the posts, making it the ideal choice for vehicles with longer wheel bases. They can be used for virtually any standard truck or car.
Finally, the floor pan model of the two-post lift is typically best suited for smaller garages in which there is less than 12 feet of ceiling height clearance.
3. How safe are auto lifts?
Of course, the safety of your workers will all depend on the type of lift you purchase and how well you maintain said lift. However, today’s auto lifts are generally designed with greater safety features than ever before. If you want to make sure you are purchasing a lift you know you can trust, look for models that meet or exceed American National Standards Institute (ANSI) safety standards.
4. Will auto lifts still work during a power outage?
While almost every lift requires power to remain functional, there are available options that will ensure your lifts continue to work even in the event of a power failure. Many commercial garages install uninterruptible power supplies that allow you to keep your lift functioning properly until you have time to safely get vehicles down and shut off your equipment.
Alternatively, traditional generators can also work to provide power for the duration of an outage.
5. Will my lift require special hydraulic fluid to operate properly?
As mentioned in the part one blog, you can typically expect to need around 3 gallons of hydraulic fluid when first installing your auto lift. While many lifts are designed to operate using standard hydraulic oil found in nearly any automotive store, some lifts do require specialized fluid for optimal performance. Be sure to consult with your owner’s manual on the correct fluid to use. While it may seem unimportant, you will want to stick with what the manual says to get the best performance and longest life from you lift.
6. Is it ok to go over the listed weight capacity of my lift?
Contrary to the beliefs of some mechanics, the answer to this question is always a firm no. No matter how many times you may have gotten away with putting a few extra pounds of vehicle on your lift, it is never a good or safe idea to do so. Additionally, many manufacturers will advise moving up to models with higher capacities if you find yourself frequently exceeding 90 percent of the rated capacity.
You will also need to consider weight distribution. As an example, let’s say you own a two post lift, rated at 10,000 lbs. However, it is important to remember that each arm of the lift is only rated for a portion of that total. Be sure to always balance your loads safely and never overload one arm of your lift.
Find Your Best Auto Lift and Auto Lift Parts with SVI
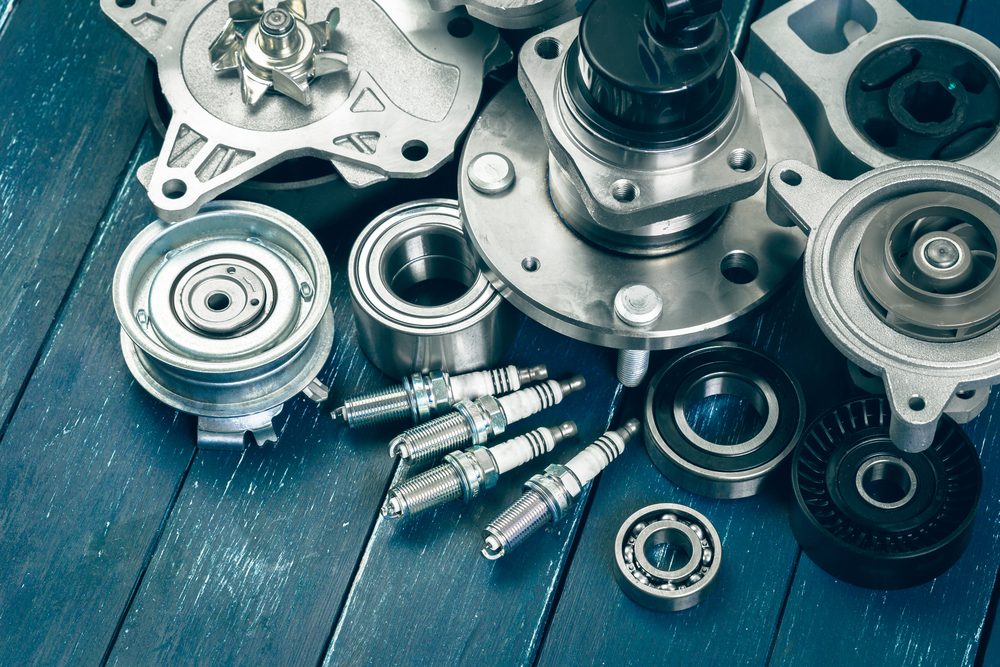
No matter which auto lift you choose, it will inevitably require replacement parts. For over 40 years, SVI International has been serving the automotive service equipment industry with honesty, integrity, and the highest possible level of quality. We provide on-time delivery and same-day shipping on all our in-stock parts. We exist as your one-stop shop for equipment parts, lifting equipment, RELS brake-lathes, fluid delivery products, petroleum equipment parts, and much more.
Whether you have additional questions not answered here, concerns, or need help placing an order, we are always just a phone call away. Call us at (800) 321-8173 or fill out our online contact form today. We look forward to assisting you and, if you missed it, we invite you to peruse the first installment of our Guide to Frequently Asked Auto Lift Questions.