How to Use a Brake Lathe: A Complete Guide
If your shop performs routine brake work, you already know how essential a brake lathe is to your work. But sometimes, setting up your lathe can be confusing, so this complete guide should clarify any misunderstandings.
What is a Brake Lathe
A brake lathe is used to correct the thickness of a rotor after issues with vibration or noise problems after a period of heavy brake use. After continuous uneven contact with the brake pad on the rotor, the brake pad can damage the rotor.
There are two types of brake lathes- on-car and off-car lathes.
On-car Lathes
On-car brake lathes are usually more dependable than off-car lathes because they provide a better finish and more accuracy. They also help eliminate wasted hours and extra work.
On-car brake lathes are installed in the same place as the brake caliper, making it easier and more efficient. In addition, an on-car lathe is an excellent tool for turning troublesome rotors on vehicles with captured rotors and those sensitive to rotor runout.
Off-car Lathes
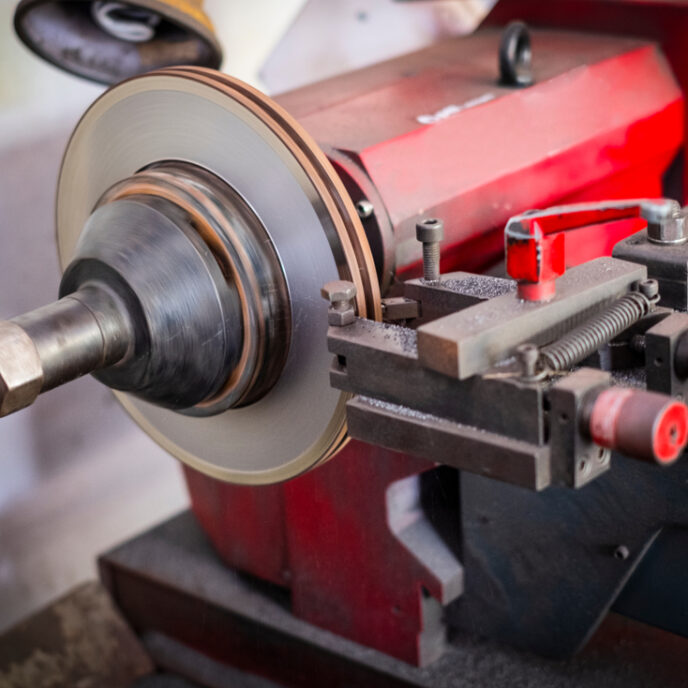
Off-car lathes are also referred to as bench lathes. A bench lathe is a necessary tool if you have to resurface drums or rotors.
A brake lathe mounted on a workbench is called a bench lathe. It’s also referred to as an off-car lathe because the mechanic removes the rotor from the car and then mounts it to the lathe.
This lathe relies more on its alignment, easily thrown out of spec from damage or frequent use. At best, a misaligned lathe will provide acceptable resurfacing; at worst, it might score or damage the rotor beyond the point of resurfacing.
How to Use a Brake Lathe
The focus of this section is on using an on-car brake lathe.
Step 1: Find and Mount an Appropriate Adapter
Once you’ve found the appropriate adapter, you need to mount the lathe’s hub adapter using the proper torque specifications. All nuts should be used around the adapter and tightened evenly by hand.
Step 2: Tighten Drive Shaft
Once the machine is pushed up to the adapter with the alignment pin adequately engaged, there is a hand-operated screw in the center of the drive shaft to tighten. This is a hand knob, which means it only needs to be hand tightened.
Step 3: Adjust the Lathe
Many machines will automatically adjust once you plug them in. Just press reset and then the start button. The display will show the runout of the mounted rotor or drum and then adjust down. Some on-car lathe models have a plate between the lathe and adapter that you must adjust. After runout adjustment is performed, it is time to cut.
Step 4: Cut the Bearing or Drum
Cut the rotor appropriately to size and specifications.
Step 5: Note Differences With Vehicles
Front and rear rotors are cut similarly with on-car lathes, but cutting rear rotors on limited slip differentials is slightly different. Therefore, you must first put the vehicle in neutral before machining. Also, some all-wheel-drive cars may need the rear drive shaft lowered on one end.
Step 6: Clean Sensors and Tone Rings
After cutting, you should clean the tone rings and wheel speed sensors. Cleaning the sensors and tone rings is essential because metal dust will cover the sensors.
Step 7: Inspect the Bearings
While it’s not required, inspecting the bearings while machining a car’s rotors is good. Some mechanics may do this with their brake service, and others do it as a separate service. While it is possible to machine hub-type rotors without touching the bearings, it’s not ideal. A brake service is usually the only time bearings will be inspected.
Step 8: Maintain the Lathe
Properly maintaining your lathe is imperative. Keep your cutting bits sharp, in proper repair, and the machine clean, and it will provide your shop with many years of use.
Brake Lathe Setup
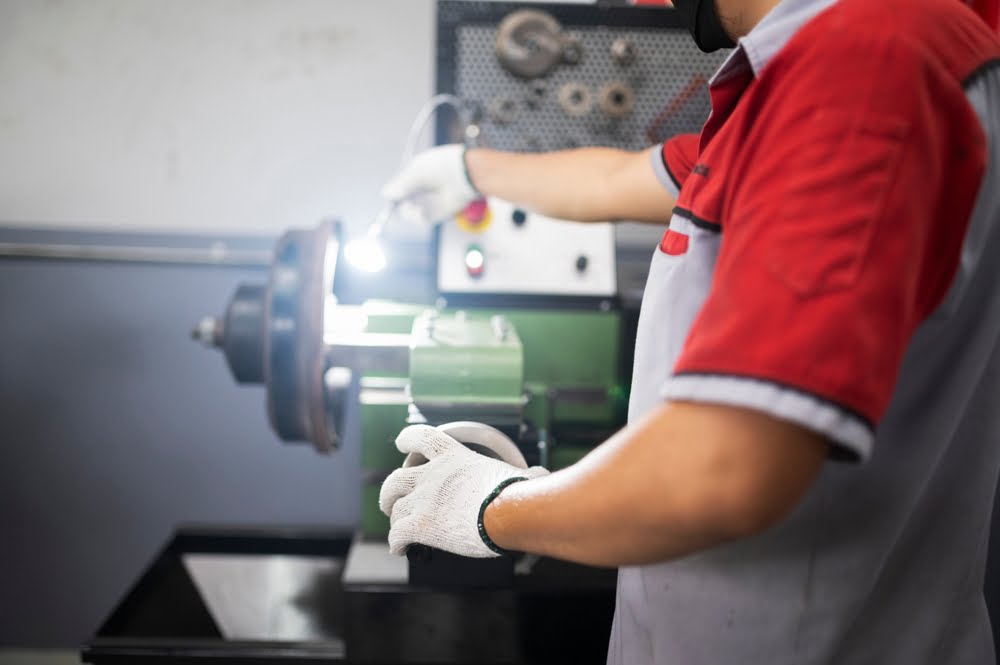
When working with a lathe, wear proper eyewear, tie loose hair back, and avoid loose clothing. Before using your lathe, it’s imperative to set it up correctly for safe use.
Step 1: Inspect the lathe.
All the surfaces of your adapter, arbor, and bell clamps should be clean and free of grease, debris, or chips. Also, check for any damage.
Step 2: Clean the drum or rotor.
In addition to cleaning the surfaces of your adapter, arbor, and bell clamps, you also need to clean the rotor and drum. They should be free of rust, scale, or other debris.
Step 3: Choose the correct adapter.
When choosing an adapter, always use the largest adapter possible. In addition, do not use centering cones as spaces.
Step 4: Use an anti-chatter device.
To dampen vibration, use a silencer band or anti-chatter device.
Safety / Benefits of Using a Brake Lathe
The advantages of using an on-car brake lathe include reduced pedal pulsation, reduced rotor runout, and uneven wear. It can also save your technicians time, allowing them to work on several rotors simultaneously.
However, having an on-car lathe is often impossible for mechanics with limited space. Therefore, many small shops use bench brake lathes as a solid second choice.
Off-car lathes can be used for different machining jobs. They are portable and easy to clean, giving them an advantage over on-car lathes. In addition, the bench lathe’s cutting head can be positioned precisely at the desired depth for an exact cut. This feature can make resurfacing a rotor faster and easier, depending on the size of the disc.
SVI has an extensive inventory of on-car and bench lathes. In addition, if your shop needs any lathe parts like adapters, centering cones, or spacers, we have a large selection. Whether you’re looking for lathe parts or a new complete lathe, we have experts ready to help you. So if you’re unsure what you need, let us help you. Our friendly customer service team is prepared to help you get your shop set up for success.